
Oreo Cheesecake Cookie Cups Recipe
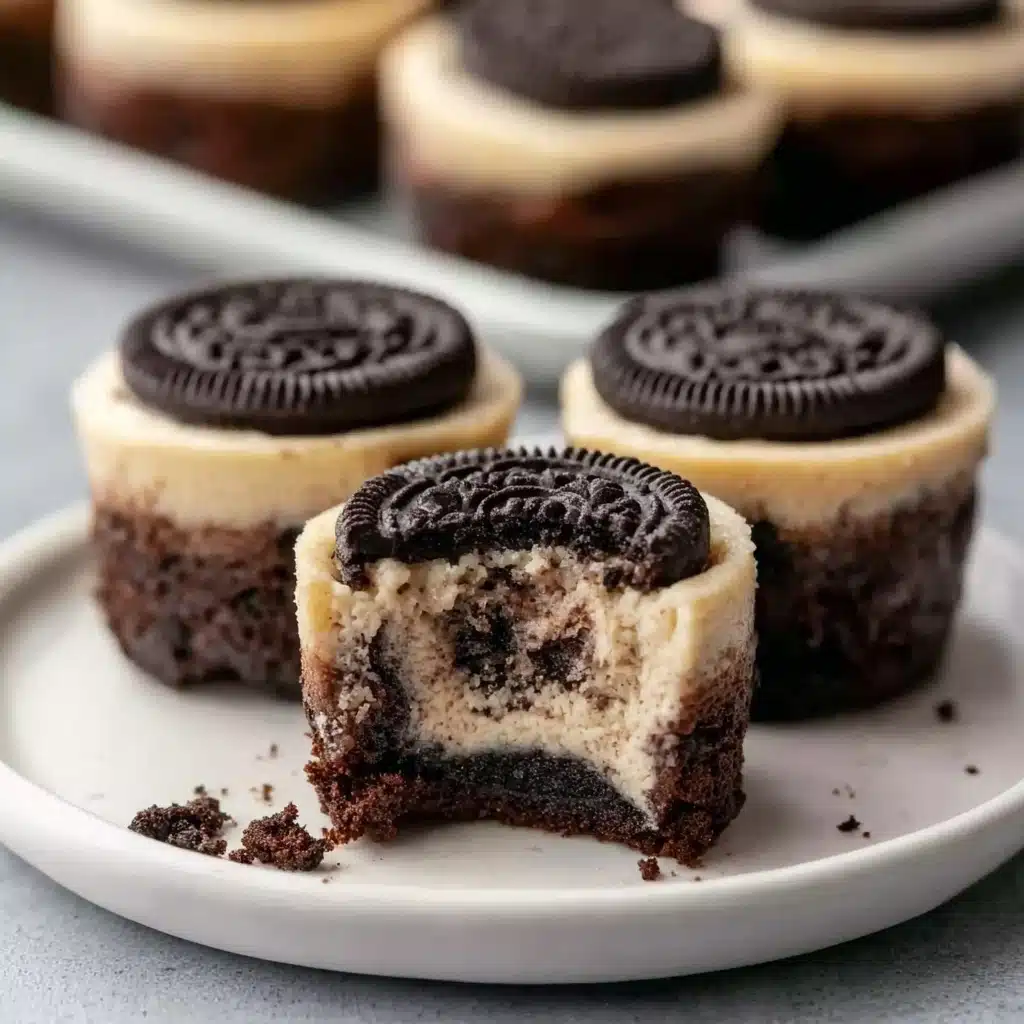
If you are searching for a fun, irresistible dessert that combines crunchy cookies with creamy cheesecake, these Oreo Cheesecake Cookie Cups are your new best friend. Each bite perfectly balances the rich, smooth cheesecake filling with the intense chocolatey crunch of Oreo cookie crusts, creating a delightful treat that is as playful as it is decadent. Whether hosting a party or indulging in a cozy night in, these charming little cups will quickly become a beloved classic you’ll want to make again and again.
Ingredients You’ll Need
These simple ingredients come together to create a flavor-packed dessert with multiple layers of texture and richness. Every element is essential for building the perfect Oreo Cheesecake Cookie Cups experience—from the buttery cookie base to the lusciously smooth filling and the light, airy topping.
- 20 Oreo cookies: Crushed into fine crumbs, they form the crunchy and chocolatey crust that holds everything together.
- 5 tbsp unsalted butter, melted: Adds richness and binds the crumbs into a sturdy, buttery base.
- 8 oz cream cheese, softened: The creamy heart of the cheesecake filling—make sure it’s softened for smooth mixing.
- 1/2 cup granulated sugar: Sweetens the filling just enough to enhance the cream cheese’s tang.
- 1/4 cup sour cream: Gives the cheesecake a slight tang and extra silkiness for perfection.
- 1 cup whipped cream: Light and fluffy topping to balance the richness below.
- Optional 1/4 cup mini chocolate chips: Adds little bursts of chocolate throughout the cheesecake filling.
How to Make Oreo Cheesecake Cookie Cups
Step 1: Prepare the Oreo Crust
Start by preheating your oven to 350°F (175°C). Crush 20 Oreo cookies finely using a food processor or by placing them in a zip-top bag and pounding with a rolling pin. Mix these crumbs with the melted butter until every crumb is coated and sticky enough to hold its shape. This mixture forms the deliciously crunchy base that’s impossible to resist.
Step 2: Press the Crust Into Muffin Liners
Line a muffin tin with cupcake liners for easy cleanup and presentation. Press about one tablespoon of the Oreo mixture firmly into the bottom of each liner. This creates a sturdy foundation for your cheesecake filling while giving you a perfectly portioned treat. Keep the crust evenly packed for the best texture and appearance.
Step 3: Make the Cheesecake Filling
Using a mixing bowl, beat softened cream cheese and granulated sugar together until light and fluffy, which usually takes about 2-3 minutes. Add the sour cream, mixing gently until everything is smooth and silky. If you like a little extra chocolate surprise, fold in the mini chocolate chips now. Your cheesecake filling is ready to shine!
Step 4: Bake the Cups
Spoon the cheesecake filling evenly over the Oreo crusts, filling each cup nearly to the top. Place your muffin tin in the oven and bake for 15-18 minutes, just until the cheesecake is set but still has a slight jiggle in the center—this ensures a creamy, melt-in-your-mouth texture after chilling. Let the cups cool completely at room temperature before moving on.
Step 5: Chill and Add Whipped Topping
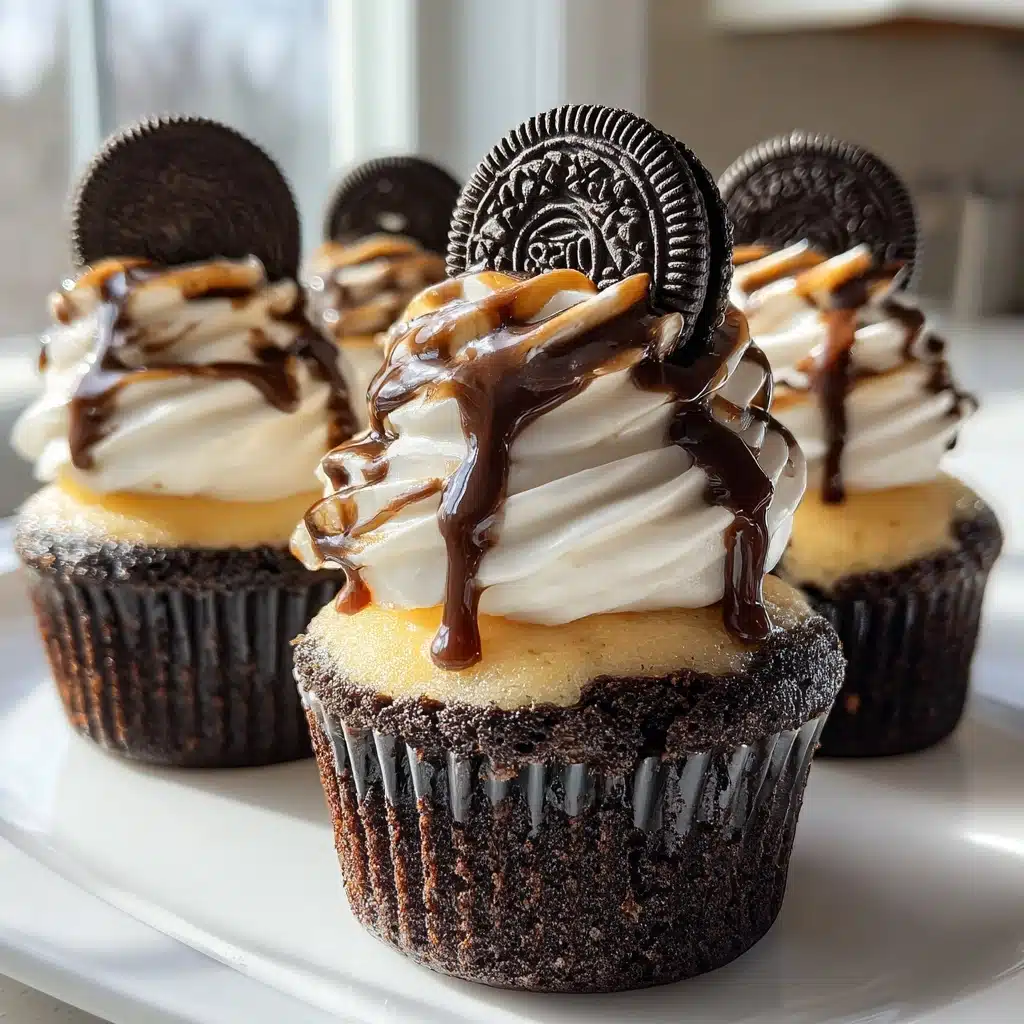
Once cooled, refrigerate the cheesecake cups for at least 2 hours to let them fully set and develop those luscious flavors. Before serving, top each with a generous dollop of whipped cream and sprinkle some crushed Oreos on top for extra crunch and visual appeal. Now you’re ready to enjoy!
How to Serve Oreo Cheesecake Cookie Cups
Garnishes
To elevate your Oreo Cheesecake Cookie Cups, consider adding fresh berries like raspberries or strawberries for a pop of color and brightness. A light dusting of cocoa powder or a drizzle of chocolate syrup can also add a gourmet touch that’s perfect for impressing guests or making snack time feel special.
Side Dishes
These cookie cups are sweet and rich enough to stand alone but pair beautifully with a scoop of vanilla ice cream or a simple cup of freshly brewed coffee or espresso. Their creamy texture and chocolatey crunch also complement fresh fruit salads or even a scoop of sorbet for a refreshing contrast.
Creative Ways to Present
Serve your Oreo Cheesecake Cookie Cups in colorful cupcake liners to match the occasion or place them on a decorative platter with an arrangement of Oreo cookies and chocolate shavings for a dramatic effect. For parties, consider adding mini dessert spoons and personalized name tags for an extra-special touch.
Make Ahead and Storage
Storing Leftovers
Oreo Cheesecake Cookie Cups keep well in the refrigerator for up to 4 days. Store them in an airtight container to maintain freshness and prevent the crust from becoming soggy. This lets you prepare ahead of time or enjoy your delicious leftovers at your leisure with no fuss.
Freezing
If you want to save these treats for longer, freezing is a great option. Place the cups in a single layer on a baking sheet and freeze until solid, then transfer them to a freezer-safe container. They can be frozen for up to 1 month. Thaw overnight in the refrigerator before serving to preserve their creamy texture.
Reheating
Since these are best enjoyed cold, reheating is typically unnecessary. If you prefer them a little softer, let them sit at room temperature for 15-20 minutes. Avoid microwaving, as it can melt the cream cheese filling and change the texture.
FAQs
Can I use a different cookie for the crust?
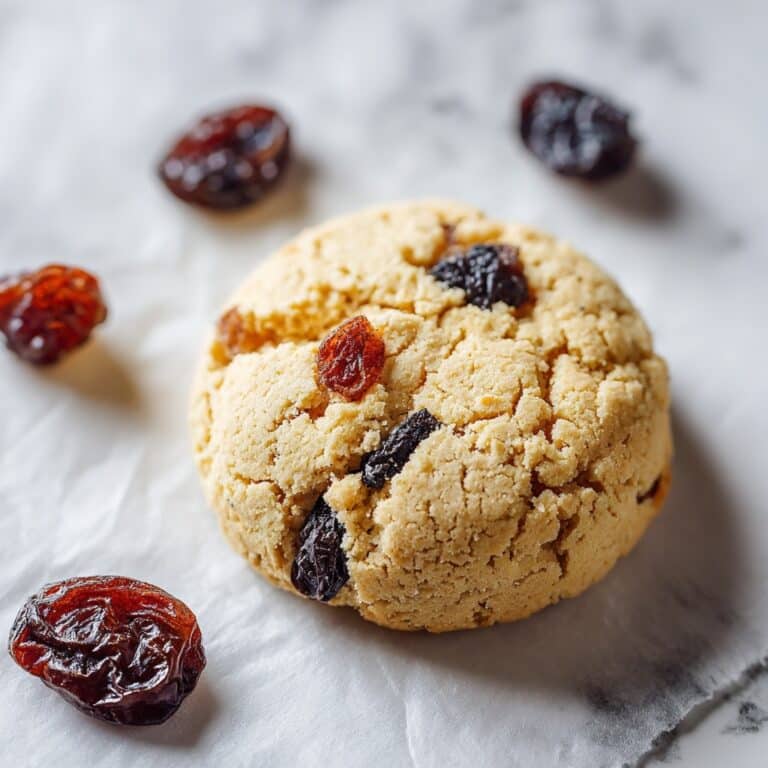
Absolutely! While Oreos create the classic flavor and crunch that make these cookie cups special, you can experiment with chocolate wafer cookies, graham crackers, or even peanut butter cookies for a fun twist.
Do I need to use cupcake liners?
While not mandatory, liners make it much easier to remove and serve the cookie cups without them sticking to the pan. If you prefer, you can also use a silicone muffin tray which provides a non-stick alternative.
Can I make these dairy-free?
Yes! Substitute cream cheese with a dairy-free alternative like vegan cream cheese, and use a plant-based whipped topping. Make sure to check the Oreos as some varieties are already vegan-friendly, but always verify the ingredients.
Why does the cheesecake filling jiggle after baking?
The slight jiggle means that the cheesecake is perfectly baked: set but still creamy. It will firm up completely as it chills in the refrigerator, ensuring a smooth, luscious texture rather than a dry, crumbly one.
Can I add other mix-ins besides chocolate chips?
Definitely! Chopped nuts, finely chopped candies, or even small pieces of fruit like strawberries or blueberries can be folded into the filling to add interesting flavors and textures. Just be careful not to overload the batter to maintain its smooth consistency.
Final Thoughts
These Oreo Cheesecake Cookie Cups are a slice of heaven disguised as a bite-sized dessert. Their perfect combination of creamy filling, crunchy cookie crust, and whipped topping makes them ideal for any occasion, from casual get-togethers to special celebrations. I promise once you try making them, they’ll quickly become your go-to treat for satisfying sweet cravings with style and ease. Give them a shot—you’ll thank me later!
Print
Oreo Cheesecake Cookie Cups Recipe
- Total Time: 2 hours 45 minutes (including chilling time)
- Yield: 12 cheesecake cookie cups 1x
- Diet: Vegetarian
Description
These Oreo Cheesecake Cookie Cups are a delightful combination of creamy cheesecake filling nestled in a crunchy Oreo cookie crust, topped with whipped cream and extra Oreo crumbs for garnish. Perfect as individual servings for parties or a sweet treat anytime.
Ingredients
Crust:
- 20 Oreo cookies
- 5 tbsp unsalted butter, melted
Cheesecake Filling:
- 8 oz cream cheese, softened
- 1/2 cup granulated sugar
- 1/4 cup sour cream
- 1/4 cup mini chocolate chips (optional)
Topping:
- 1 cup whipped cream
- Additional crushed Oreo cookies for garnish
Instructions
- Preheat and Prepare Crust: Preheat your oven to 350°F (175°C). Crush 20 Oreo cookies into fine crumbs using a food processor or by placing them in a bag and using a rolling pin. Mix the cookie crumbs thoroughly with the melted butter until combined.
- Form Cookie Cup Bases: Line a muffin tin with cupcake liners. Press about one tablespoon of the Oreo mixture into the bottom of each liner, forming an even crust layer. Use the back of a spoon or your fingers to compact it firmly.
- Make Cheesecake Filling: In a mixing bowl, beat the softened cream cheese and granulated sugar together on medium speed until the mixture becomes light and fluffy. Add the sour cream and continue to mix until fully incorporated and smooth. If desired, gently fold in mini chocolate chips for added texture and flavor.
- Fill and Bake: Spoon the cheesecake filling onto each Oreo crust in the liners, filling them nearly to the top but leaving a small gap. Bake in the preheated oven for 15-18 minutes, or until the cheesecake is set with a slight jiggle in the center. Remove from oven and allow the cups to cool completely at room temperature.
- Chill and Top: Once cooled, refrigerate the cheesecake cookie cups for at least 2 hours to fully set. Before serving, top each cup with a dollop of whipped cream and sprinkle with additional crushed Oreo cookies for extra crunch and decoration.
Notes
- Ensure cream cheese is softened to room temperature for a smooth filling.
- You can substitute whipped cream with whipped topping or cream cheese frosting.
- For a stronger Oreo flavor, add a few crushed Oreos into the cheesecake filling.
- Store cheesecake cookie cups in the refrigerator and consume within 3 days for best freshness.
- Mini chocolate chips are optional but add a nice texture contrast.
- Prep Time: 15 minutes
- Cook Time: 15-18 minutes
- Category: Dessert
- Method: Baking
- Cuisine: American
Nutrition
- Serving Size: 1 cookie cup
- Calories: 250
- Sugar: 18g
- Sodium: 120mg
- Fat: 16g
- Saturated Fat: 9g
- Unsaturated Fat: 5g
- Trans Fat: 0g
- Carbohydrates: 23g
- Fiber: 1g
- Protein: 3g
- Cholesterol: 50mg
Keywords: Oreo cheesecake, cookie cups, no-bake cheesecake, mini cheesecakes, Oreo dessert, easy cheesecake recipe, party desserts
