
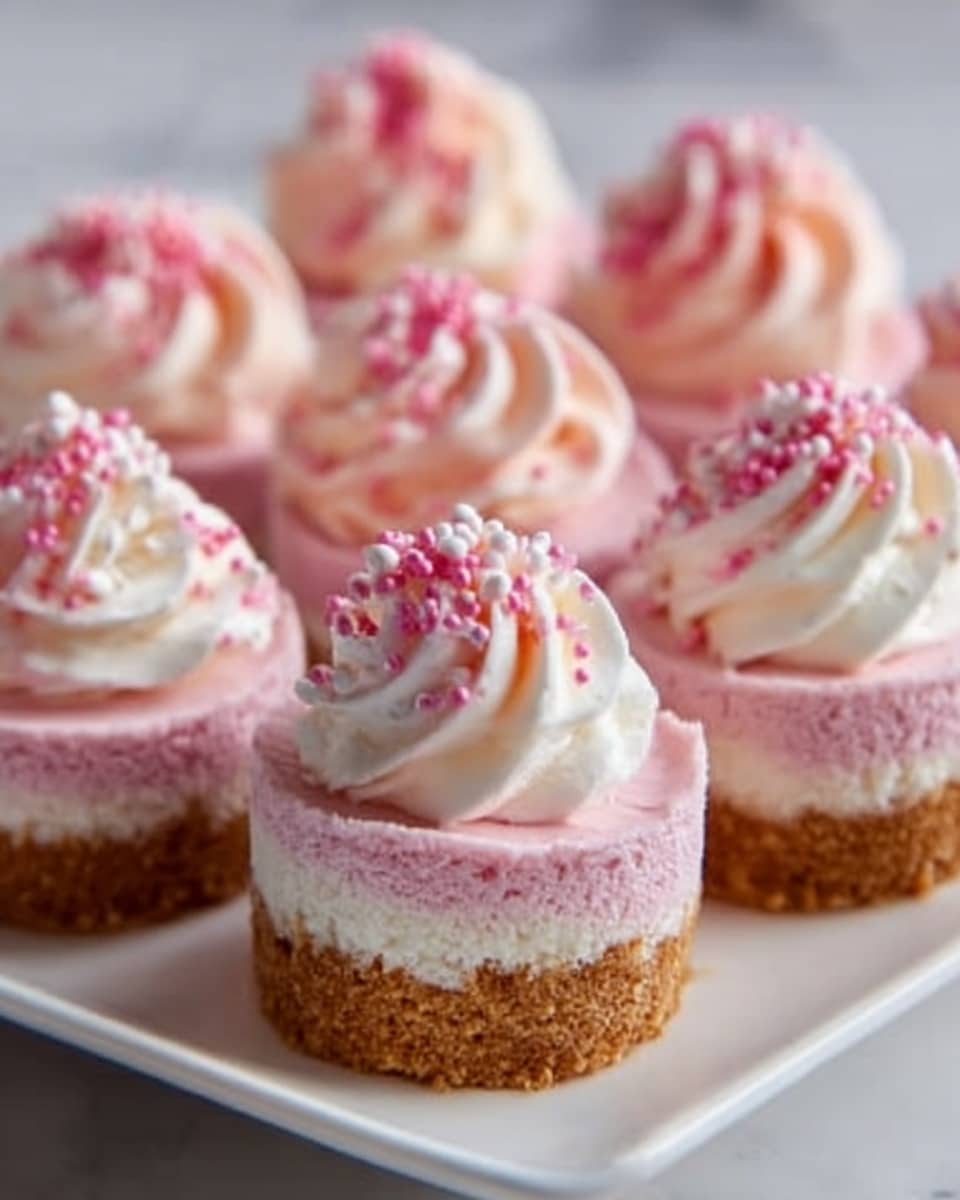
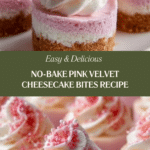
No-Bake Pink Velvet Cheesecake Bites Recipe
Introduction
No-Bake Pink Velvet Cheesecake Bites are the perfect creamy treat for any occasion. These delightful, bite-sized squares combine a buttery graham cracker crust with a rich, pink-hued cheesecake filling. Ready in just a few hours with no oven required, they’re a simple yet impressive dessert to enjoy.
Ingredients
- 1 cup graham cracker crumbs
- 1/4 cup granulated sugar
- 1/2 cup unsalted butter, melted
- 16 oz cream cheese, softened
- 1 cup powdered sugar
- 1/2 cup heavy cream
- 1 tsp vanilla extract
- 1 tbsp pink food coloring
- 1/2 cup whipped cream
- Sprinkles (optional)
Instructions
- Step 1: In a medium bowl, combine graham cracker crumbs, granulated sugar, and melted butter. Mix until well combined.
- Step 2: Press the mixture firmly into the bottom of a 9-inch square baking dish to form the crust.
- Step 3: In a large mixing bowl, beat the softened cream cheese until smooth and creamy.
- Step 4: Add powdered sugar, heavy cream, vanilla extract, and pink food coloring to the cream cheese. Beat until fully combined and fluffy.
- Step 5: Spread the cheesecake filling evenly over the crust.
- Step 6: Refrigerate for at least 4 hours or until set.
- Step 7: Once set, top with whipped cream and sprinkle with optional sprinkles before cutting into bite-sized squares.
Tips & Variations
- For a natural pink color, try using beet juice or powder instead of food coloring.
- Use flavored extracts like raspberry or strawberry in place of vanilla for a fruity twist.
- Swap the graham cracker crust for crushed cookies like Oreos for a different base flavor.
- Chill the cream cheese before whipping to ensure a smoother filling.
Storage
Store the cheesecake bites covered in the refrigerator for up to 4 days. To serve, let them sit at room temperature for 10 minutes for a creamier texture. They can be frozen for up to 1 month; thaw overnight in the fridge before serving.
How to Serve

Serve this delicious recipe with your favorite sides.
FAQs
Can I use regular cream instead of heavy cream?
Heavy cream works best for whipping and gives the filling its light texture, so regular cream is not recommended as it won’t whip properly.
How do I prevent the crust from becoming soggy?
Press the crust mixture firmly into the dish and chill it before adding the filling. This helps it set and reduces sogginess.
Print
No-Bake Pink Velvet Cheesecake Bites Recipe
- Total Time: 4 hours 20 minutes
- Yield: 16 servings 1x
Description
These No-Bake Pink Velvet Cheesecake Bites offer a creamy, vibrant twist on classic cheesecake with a smooth pink filling atop a buttery graham cracker crust. Ready in just a few hours without any baking, they are perfect for a delightful, fuss-free dessert that is both visually appealing and delicious.
Ingredients
Crust
- 1 cup graham cracker crumbs
- 1/4 cup granulated sugar
- 1/2 cup unsalted butter, melted
Filling
- 16 oz cream cheese, softened
- 1 cup powdered sugar
- 1/2 cup heavy cream
- 1 tsp vanilla extract
- 1 tbsp pink food coloring
Topping
- 1/2 cup whipped cream
- Sprinkles (optional)
Instructions
- Prepare the crust: In a medium bowl, combine graham cracker crumbs, granulated sugar, and melted butter. Mix until all ingredients are incorporated and crumbly but holds together.
- Form the crust base: Press the crumb mixture firmly into the bottom of a 9-inch square baking dish, creating an even layer.
- Beat cream cheese: In a large mixing bowl, beat the softened cream cheese using a hand mixer or stand mixer until smooth and creamy, free of lumps.
- Make the filling: Add powdered sugar, heavy cream, vanilla extract, and pink food coloring to the cream cheese. Beat on medium speed until the mixture is fully combined, fluffy, and smooth.
- Assemble cheesecake layer: Spread the pink cheesecake filling evenly over the prepared crust, smoothing the surface with a spatula.
- Chill to set: Refrigerate the assembled dessert for at least 4 hours, or until the filling is firm and set.
- Add toppings and serve: Once set, top with whipped cream and sprinkle with optional sprinkles for decoration. Cut into bite-sized squares and serve chilled.
Notes
- Ensure cream cheese is softened to room temperature for a smooth filling.
- You can use gel or liquid pink food coloring according to your preference for vibrant color.
- To speed up setting, chill the dessert overnight.
- Sprinkles are optional but add a fun and festive touch.
- Store leftover cheesecake bites covered in the refrigerator for up to 3 days.
- Prep Time: 20 minutes
- Cook Time: 0 minutes
- Category: Dessert
- Method: No-Cook
- Cuisine: American
Keywords: No-Bake, Cheesecake Bites, Pink Velvet, Dessert, Easy Cheesecake, Cream Cheese, Refrigerator Dessert