
Easy Dog Icing Recipe – Make Your Pup’s Treats Look Adorable and Safe to Eat Recipe
Introduction
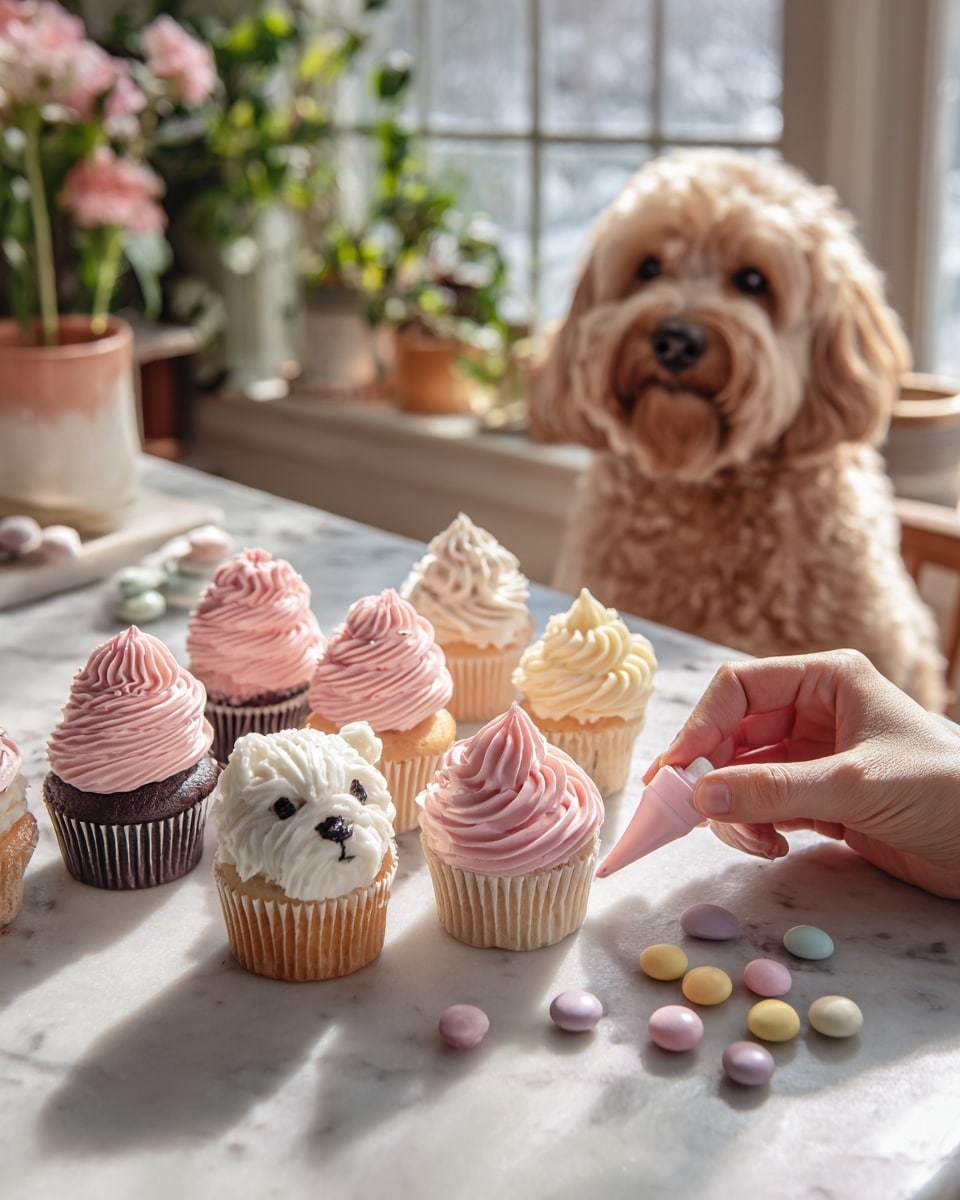
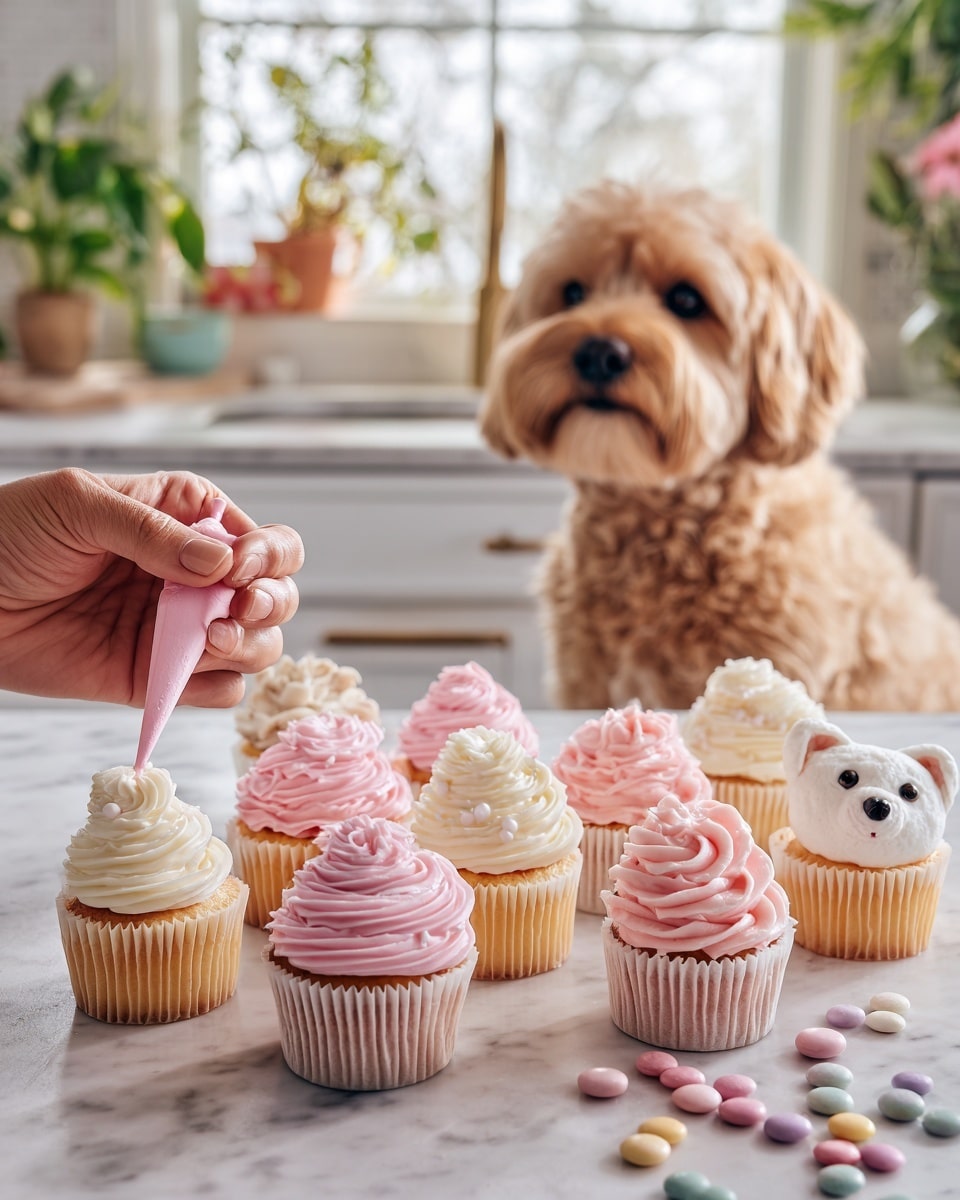
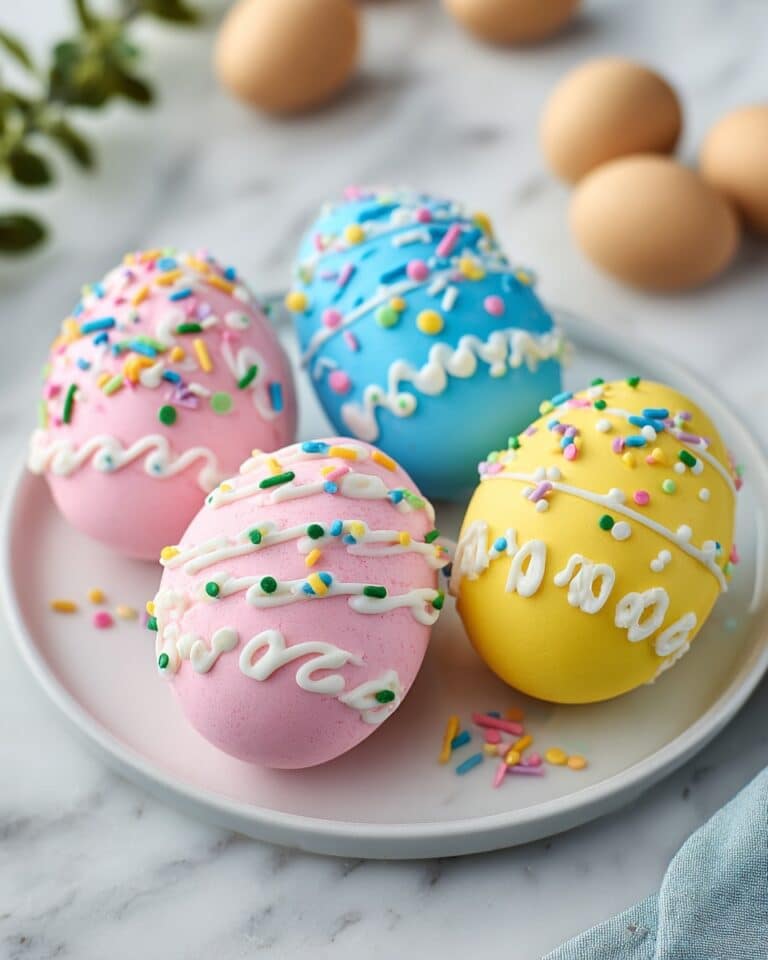
If you’ve ever wanted to make your dog’s treats look extra special, this easy dog icing recipe is just for you. Made with simple, safe ingredients, it’s perfect for adding a cute, tasty touch to homemade biscuits or pupcakes. Let’s make your furry friend’s snacks not only delicious but adorable too!
Ingredients
- 2 tablespoons plain Greek yogurt (unsweetened, no xylitol or flavoring)
- 1 tablespoon creamy peanut butter (ensure it’s xylitol-free)
- 1 tablespoon cornstarch or tapioca starch
- 1–2 teaspoons water (optional, for adjusting consistency)
- Optional: 1 teaspoon honey (for shine and sweetness)
- Optional natural color powders:
- Beet powder (pink)
- Turmeric (golden yellow)
- Spirulina or wheatgrass powder (green)
Instructions
- Step 1: In a small bowl, combine the Greek yogurt and peanut butter. Stir until smooth and creamy. If the peanut butter is thick, warm it for 5–10 seconds to make mixing easier.
- Step 2: Gradually sprinkle in the cornstarch (or tapioca starch) while mixing. Adjust until the icing reaches a soft, spreadable texture. Add more starch for thicker icing or a few drops of water for a thinner consistency.
- Step 3: If using, divide the icing into separate bowls and add small amounts of natural color powders to achieve desired shades.
- Step 4: Spread the icing onto completely cooled dog treats using a spoon or piping bag. Chill the decorated treats in the fridge for about 30 minutes to help the icing set.
Tips & Variations
- For a glossy coconut variation, mix 2 tbsp melted coconut oil, 1 tbsp cornstarch, and 1 tbsp Greek yogurt. Let cool slightly before applying.
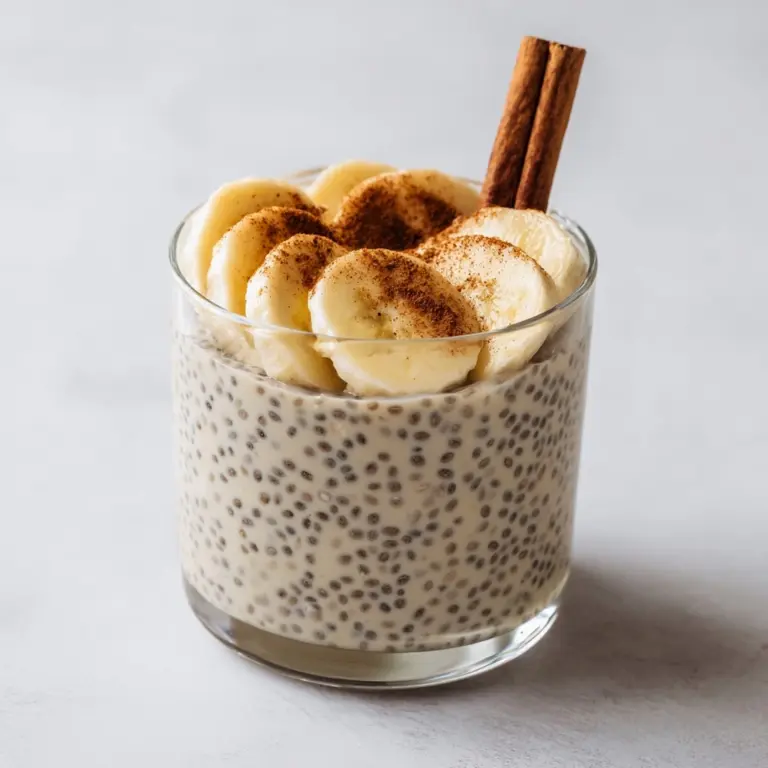
- Try banana icing by mixing 1 ripe mashed banana, 1 tbsp peanut butter, and 1 tsp tapioca starch for a naturally sweet option.
- For a chocolate look-alike, combine 1 tbsp carob powder, 1 tbsp Greek yogurt, and 1 tsp honey until smooth.
- Always check peanut butter labels to avoid xylitol—a substance toxic to dogs.
- Let treats cool completely before icing to prevent melting or sliding.
Storage
Store homemade dog icing in a sealed container in the fridge for up to 5 days. You can freeze pre-iced treats for up to 2 months for convenience. If the icing thickens after refrigeration, stir in a few drops of water or yogurt to soften it before serving.
How to Serve
Serve this delicious recipe with your favorite sides.
FAQs
Can dogs eat regular icing sugar?
No. Regular icing sugar contains refined sugars and sometimes artificial sweeteners that can cause health issues such as dental problems, obesity, and digestive upset in dogs.
Can I use cream cheese or butter for dog icing?
You can use a small amount of cream cheese if your dog tolerates dairy, but butter is best avoided as it’s too fatty and may upset your dog’s stomach.
Print
Easy Dog Icing Recipe – Make Your Pup’s Treats Look Adorable and Safe to Eat Recipe
- Total Time: 5 minutes plus chilling time
- Yield: Approximately 1/3 cup of icing (enough to frost 12–15 small dog biscuits) 1x
Description
This Easy Dog Icing Recipe provides a safe, wholesome, and adorable way to decorate your pup’s homemade treats using simple dog-friendly ingredients like Greek yogurt, peanut butter, and cornstarch. Free from sugar and artificial additives, this icing sets beautifully and can be naturally colored for a fun, customizable touch perfect for frosted biscuits, pupcakes, or special celebrations.
Ingredients
Basic Dog Icing Ingredients
- 2 tablespoons plain Greek yogurt (unsweetened, no xylitol or flavoring)
- 1 tablespoon creamy peanut butter (xylitol-free)
- 1 tablespoon cornstarch or tapioca starch
- 1–2 teaspoons water (add gradually for desired texture)
Optional Ingredients
- 1 teaspoon honey (optional for shine and sweetness, helps icing stick)
- Natural coloring powders:
- Beet powder (for pink)
- Turmeric (for golden yellow)
- Spirulina or wheatgrass powder (for green)
Coconut Icing Variation
- 2 tablespoons coconut oil (melted)
- 1 tablespoon cornstarch
- 1 tablespoon Greek yogurt
Banana Icing Variation
- 1 ripe banana (mashed)
- 1 tablespoon peanut butter
- 1 teaspoon tapioca starch
Carob Icing Variation
- 1 tablespoon carob powder
- 1 tablespoon Greek yogurt
- 1 teaspoon honey
Instructions
- Mix the Base: In a small bowl, combine the plain Greek yogurt and creamy peanut butter. Stir until smooth and creamy, similar to frosting consistency. If peanut butter is thick, microwave it for 5-10 seconds to soften for easier mixing.
- Add the Thickener: Gradually sprinkle in the cornstarch or tapioca starch, mixing thoroughly after each addition until the icing achieves a soft, spreadable texture. Adjust thickness by adding more starch for piping or a few drops of water for a thinner consistency.
- Add Natural Colors: Divide the icing into separate bowls if using multiple colors. Add small amounts of natural coloring powders like beet powder for pink, turmeric for yellow, or spirulina for green. Use sparingly to achieve pastel shades without artificial dyes.
- Decorate Your Dog Treats: Spread the icing with a spoon or use a piping bag to create fun designs on completely cooled baked dog biscuits or pupcakes. Chill the decorated treats in the refrigerator for about 30 minutes to allow the icing to firm up nicely before serving.
- Optional Variations: For coconut icing, whisk together melted coconut oil, cornstarch, and Greek yogurt, let cool slightly, then brush onto treats for a glossy finish. For banana icing, mix mashed ripe banana, peanut butter, and tapioca starch until creamy for a naturally sweet frosting. For carob icing, combine carob powder, Greek yogurt, and honey until smooth, then spread or drizzle on treats.
- Storage: Store leftover icing in a sealed container in the refrigerator for up to 5 days. For longer storage, freeze pre-iced treats for up to 2 months. If icing thickens after refrigeration, stir in a few drops of water or yogurt to restore spreadability.
Notes
- Always check peanut butter ingredients for xylitol, which is toxic to dogs.
- Use only natural food coloring powders or pure fruit/vegetable purées; avoid synthetic dyes.
- Ensure treats are fully cooled before applying icing to prevent melting or sliding.
- Keep icing portions small; even healthy treats should be occasional.
- Use parchment paper when chilling iced treats to prevent sticking.
- For professional-looking decorations, use a piping bag with small tips and chill designs before photography or serving.
- If icing isn’t thick enough, add starch 1 teaspoon at a time until desired texture is reached.
- Prep Time: 5 minutes
- Cook Time: 0 minutes
- Category: Dog Treat Decoration
- Method: No-Cook
- Cuisine: Pet-Friendly
Keywords: dog icing, dog-friendly frosting, homemade dog treats, peanut butter dog icing, healthy dog frosting, natural dog treat decoration