
Homemade No-Bake Granola Bars Recipe
Introduction
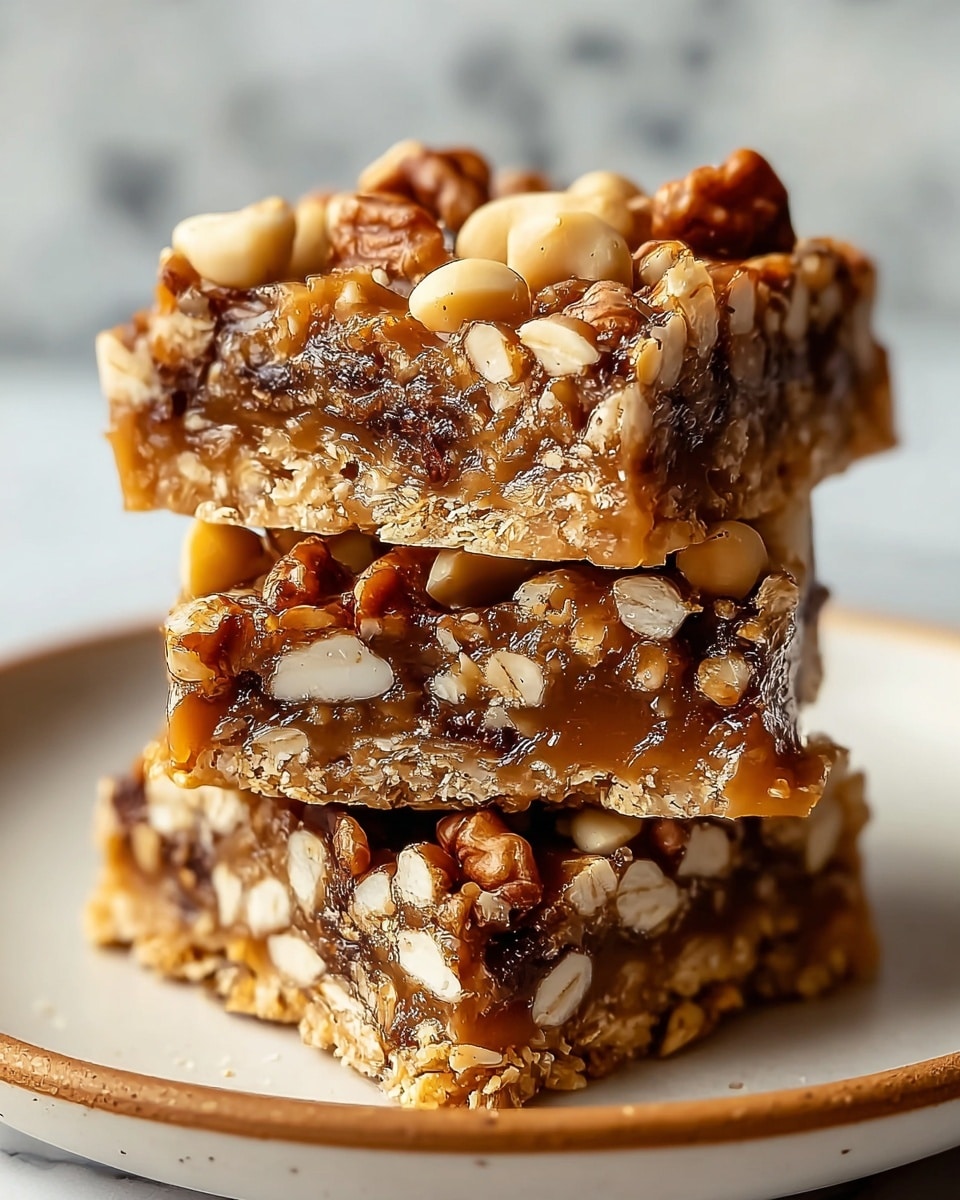
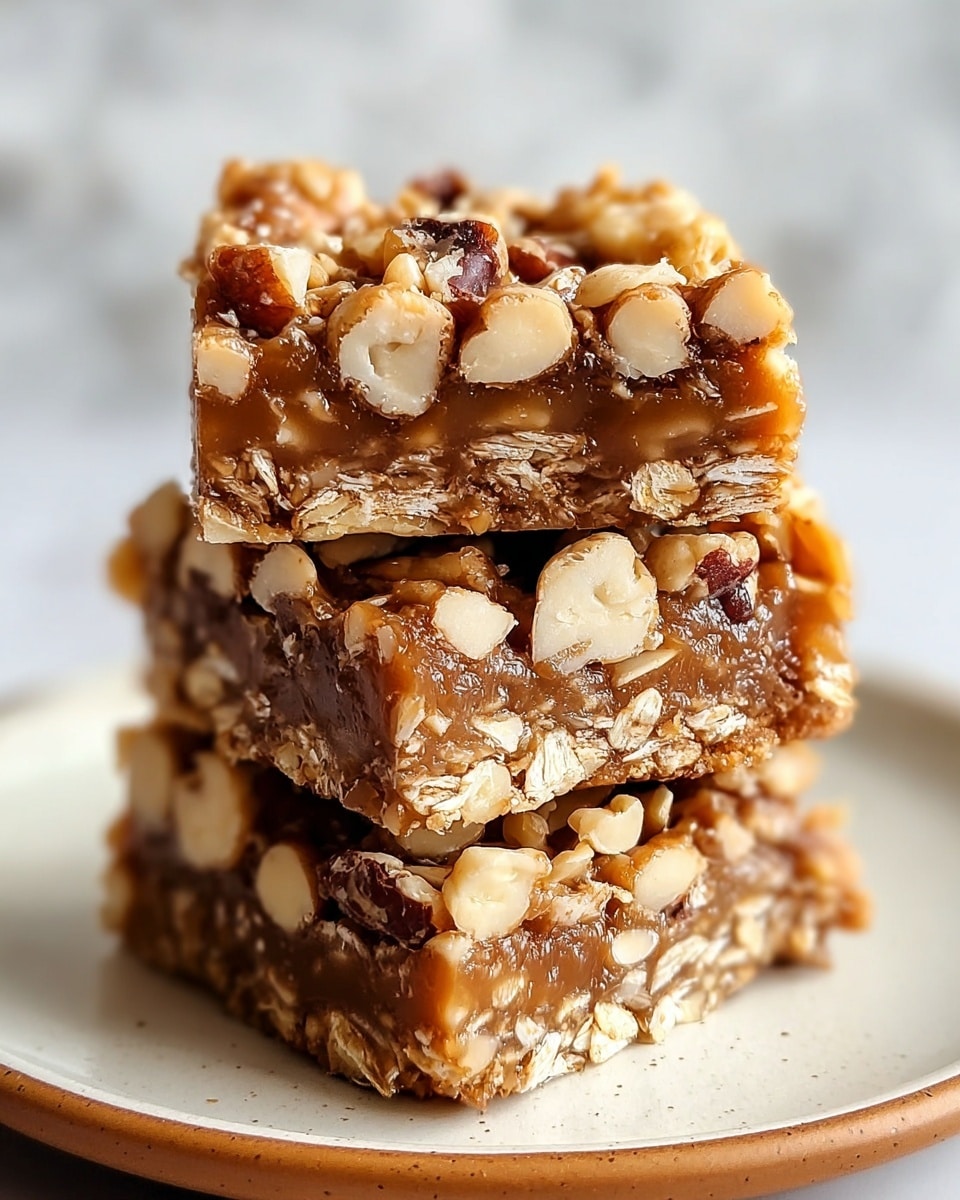
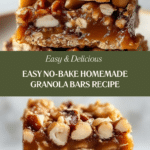
These homemade no-bake granola bars are a simple, wholesome snack perfect for busy days. Packed with oats, nut butter, and your favorite mix-ins, they offer great texture and natural sweetness without any baking required.
Ingredients
- 2 cups rolled oats
- 1 cup nut butter (creamy peanut butter or almond butter)
- 1/2 cup honey (or agave syrup)
- 1/2 cup chopped nuts (almonds or walnuts)
- 1/2 cup dried fruits (cranberries or raisins)
- 1/4 cup chocolate chips (dark chocolate recommended)
- 1 pinch sea salt
- Extra nut butter for drizzling on top (optional)
Instructions
- Step 1: In a large mixing bowl, combine the rolled oats, nut butter, and honey. Mix well until everything is evenly blended.
- Step 2: Gently fold in the chopped nuts, dried fruits, and chocolate chips to evenly distribute them throughout the mixture.
- Step 3: Line an 8×8 inch pan with parchment paper. Press the granola mixture firmly into the pan, making sure it’s evenly spread and compacted.
- Step 4: Drizzle extra nut butter over the top if desired, for added richness.
- Step 5: Refrigerate the pan for at least 30 minutes to allow the bars to set and firm up.
- Step 6: Remove the solidified granola slab from the pan using the parchment paper. Slice into bars or squares as preferred.
Tips & Variations
- For a nut-free version, substitute the nut butter with sunflower seed butter and omit the nuts.
- Try adding seeds like chia, flax, or pumpkin seeds for extra nutrition and crunch.
- Use maple syrup instead of honey or agave for a different flavor profile.
- If you prefer firmer bars, freeze them for 15 minutes before slicing to make cutting easier.
Storage
Store your homemade granola bars in an airtight container at room temperature for up to one week. For longer storage, keep them refrigerated for about two weeks or freeze for up to three months. To enjoy, let frozen bars thaw at room temperature for 10-15 minutes before eating.
How to Serve
Serve this delicious recipe with your favorite sides.
FAQs
Can I use different types of nut butter?
Yes, peanut butter, almond butter, cashew butter, or any creamy nut butter you prefer will work well in this recipe.
Are these granola bars suitable for kids?
Absolutely! They are made with simple, wholesome ingredients and natural sweetness, making them a great snack option for children.
Print
Homemade No-Bake Granola Bars Recipe
- Total Time: 40 minutes
- Yield: 12 bars 1x
- Diet: Vegetarian
Description
These homemade no-bake granola bars are a delicious and healthy snack, combining rolled oats, nut butter, honey, nuts, dried fruits, and chocolate chips for a perfect balance of texture and sweetness. Ready in just 40 minutes with minimal effort, they’re ideal for a quick energy boost or on-the-go snack.
Ingredients
Main Ingredients
- 2 cups rolled oats
- 1 cup nut butter (creamy peanut butter or almond butter)
- 1/2 cup honey (or agave syrup as a substitute)
- 1/2 cup nuts, chopped (almonds or walnuts)
- 1/2 cup dried fruits (cranberries or raisins)
- 1/4 cup chocolate chips (dark chocolate recommended)
- 1 pinch sea salt
- 1 drizzle extra nut butter (for topping)
Instructions
- Combine Base Ingredients: In a large mixing bowl, thoroughly blend the rolled oats, nut butter, and honey until the mixture is smooth and well combined, ensuring an even texture.
- Add Mix-ins: Gently fold in the chopped nuts, dried fruits, and chocolate chips, distributing them evenly throughout without breaking them up too much.
- Prepare Pan: Line an 8×8 inch pan with parchment paper, which will make removing the bars easier and prevent sticking.
- Press Mixture into Pan: Transfer the granola mixture into the lined pan and press it firmly and evenly to compact the ingredients and create a solid slab.
- Refrigerate to Set: Place the pan in the refrigerator for at least 30 minutes to allow the mixture to firm up and bind together, making the bars easy to cut.
- Slice into Bars: Remove the chilled slab from the pan, peel away the parchment paper, and cut into bars or squares of desired size.
- Store Properly: Place the granola bars in an airtight container to maintain freshness and enjoy them as a convenient snack.
Notes
- You can substitute honey with agave syrup to make it vegan-friendly.
- Customize mix-ins by adding seeds, coconut flakes, or different dried fruits.
- Pressing the mixture firmly improves bar cohesion and texture.
- Store bars in the refrigerator for longer shelf life.
- Using dark chocolate chips adds antioxidants and reduces sugar content.
- Prep Time: 10 minutes
- Cook Time: 0 minutes
- Category: Snack
- Method: No-Cook
- Cuisine: American
Keywords: granola bars, no-bake, healthy snack, homemade granola, nut butter bars, easy snack, vegetarian snack
