
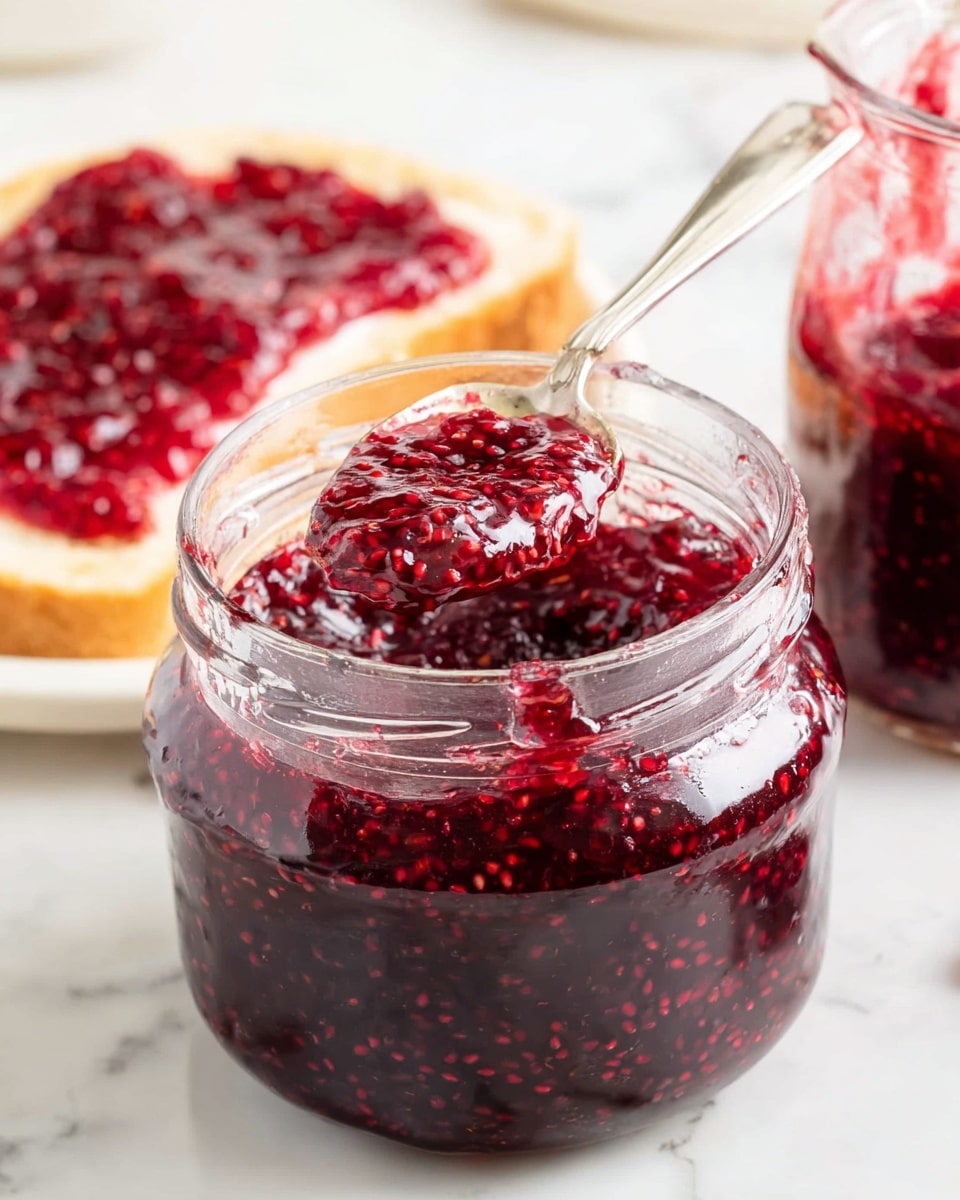
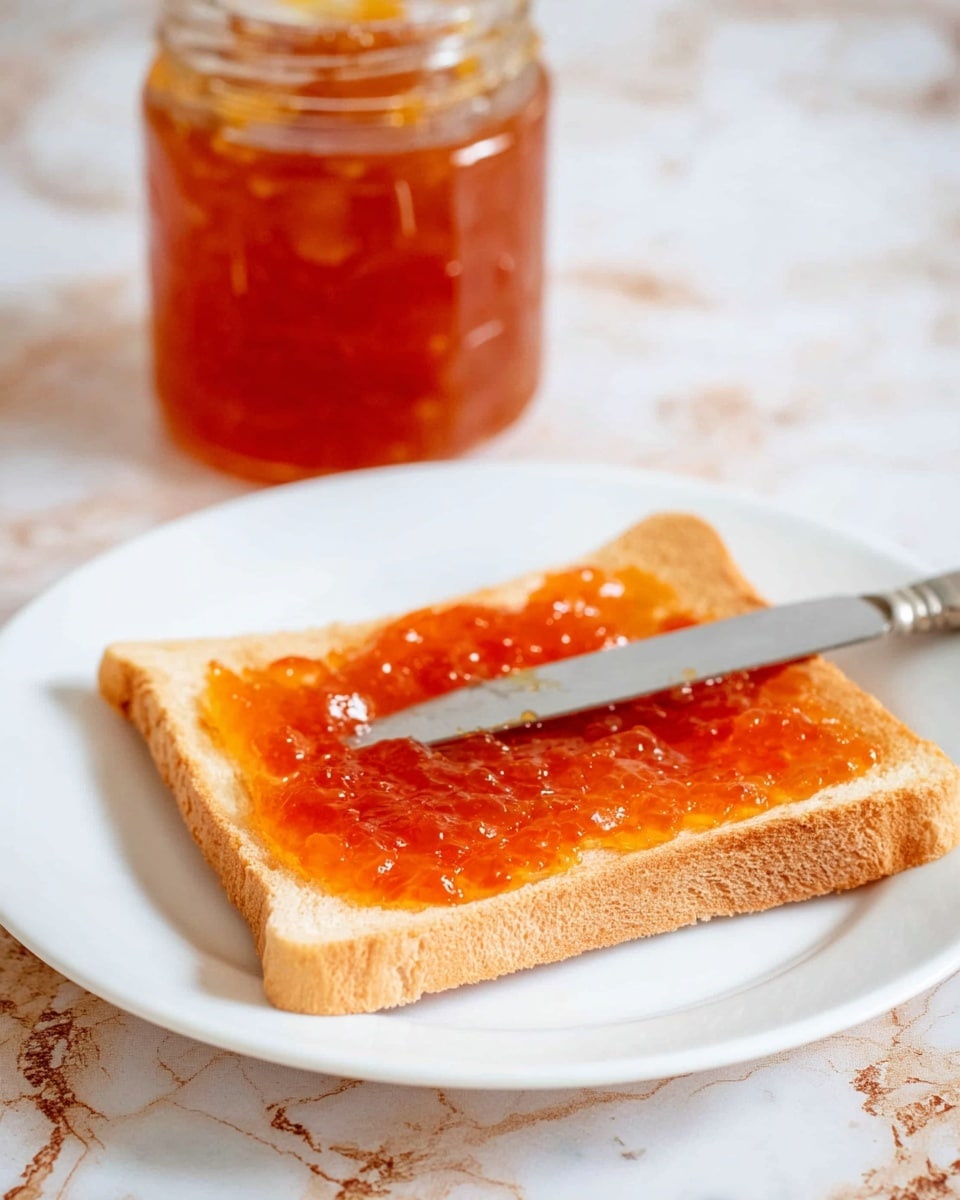
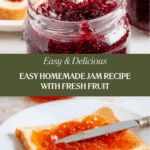
How to Make Homemade Fruit Jam Recipe
Introduction
Making your own homemade jam is a rewarding way to preserve seasonal fruit and enjoy fresh flavors year-round. This simple recipe guides you through creating delicious, shelf-stable jam with just a few ingredients and basic equipment.
Ingredients
- 4 cups ripe fruit (e.g. strawberries, blueberries, raspberries, or peaches), washed, peeled, and chopped if necessary
- 3 cups granulated sugar (adjust depending on the fruit’s natural sweetness)
- 1 – 2 tbsp lemon juice (or more depending on the fruit’s acidity)
- Optional flavorings or spices (e.g. vanilla extract, cinnamon, or grated citrus zest)
Instructions
- Step 1: Prepare your equipment by washing canning jars, lids, and bands in hot, soapy water. Rinse thoroughly and sterilize them in a boiling water bath for 10 minutes. Keep the jars hot until ready to use. Set up your water bath canner or stockpot with a rack and bring water to a simmer.
- Step 2: Prepare the fruit by washing, peeling if needed, and chopping it into small pieces. Remove any stems, seeds, or cores.
- Step 3: In a large, heavy-bottomed pot, combine the chopped fruit, sugar, lemon juice, and any optional flavorings or spices. Cook over medium-low heat, stirring occasionally, until the fruit breaks down, releases its juices, and the sugar dissolves completely.
- Step 4: Increase the heat to medium-high and bring the mixture to a rolling boil. Simmer for two minutes at high heat, then reduce the heat to low.
- Step 5: Continue cooking on low heat, stirring frequently to prevent sticking or burning, until the jam thickens to your desired consistency. This can take 20 to 45 minutes depending on the fruit and batch size.
- Step 6: Test for set by placing a small amount of hot jam on a chilled plate. Let it sit for a minute, then push it with your finger. If it wrinkles and sets, it’s ready; if not, cook longer and test again.
- Step 7: Remove the hot sterilized jars from the water bath and place them on a clean towel. Use a canning funnel if available to ladle the hot jam into the jars, leaving about 1/4-inch headspace. Wipe rims with a clean, damp cloth.
- Step 8: Place sterilized lids on the jars and screw on the bands until fingertip-tight, avoiding over-tightening.
- Step 9: Submerge the filled jars in the water bath canner or stockpot with at least 1-2 inches of water covering them. Bring water to a boil and process for 10-15 minutes, adjusting for altitude as needed.
- Step 10: Carefully remove jars using jar lifters and place them on a clean towel or cooling rack. Let cool undisturbed for 12-24 hours until lids pop to seal.
- Step 11: After cooling, check seals by pressing the center of each lid. It should not flex or pop. Refrigerate any unsealed jars and use within a few weeks.
- Step 12: Label sealed jars with date and jam type. Store in a cool, dark, dry place for up to a year. Once opened, keep jam refrigerated for several weeks.
Tips & Variations
- Adjust the sugar amount based on fruit sweetness; less sugar for naturally sweeter fruits like peaches.
- Add a splash of vanilla extract or a pinch of cinnamon for extra flavor.
- Use a canning funnel to prevent spills and keep jar rims clean for better sealing.
- Choose ripe but firm fruit to ensure proper texture in your jam.
Storage
Store sealed jars in a cool, dark, and dry place for up to one year. Once opened, keep jam refrigerated and consume within several weeks for best quality. Properly sealed jars offer long shelf life thanks to the canning process.
How to Serve
Serve this delicious recipe with your favorite sides.
FAQs
Can I use frozen fruit to make jam?
Yes, frozen fruit works well for jam. Thaw the fruit first and drain any excess liquid before cooking to avoid watery jam.
How do I know when the jam is properly sealed?
After cooling, press the center of each jar lid. A sealed jar will have a lid that does not flex or pop. You may also hear a popping sound as jars cool, indicating a vacuum seal.
Print
How to Make Homemade Fruit Jam Recipe
- Total Time: 1 hour
- Yield: About 4 to 5 half-pint jars 1x
- Diet: Vegetarian
Description
Learn how to make homemade fruit jam with ripe fresh fruit, sugar, and lemon juice, using traditional stovetop cooking and water bath canning methods to preserve and enjoy your jam for months. This recipe guides you through preparing the fruit, cooking it to the perfect consistency, and safely sealing it in jars for long-term storage.
Ingredients
Main Ingredients
- 4 cups ripe fruit (e.g., strawberries, blueberries, raspberries, or peaches), washed, peeled, and chopped if necessary
- 3 cups granulated sugar (adjust depending on the fruit’s natural sweetness)
- 1–2 tbsp lemon juice (or more depending on the fruit’s acidity)
Optional Flavorings
- Vanilla extract
- Cinnamon
- Grated citrus zest
Instructions
- Prepare Your Equipment: Wash the canning jars, lids, and bands in hot, soapy water. Rinse thoroughly and sterilize them in a boiling water bath for 10 minutes. Keep the jars hot until ready to use. Also, set up your water bath canner or stockpot with a rack and bring water to a simmer.
- Prepare the Fruit: Wash, peel if necessary, and chop the fruit into small pieces. Remove any stems, seeds, or cores to ensure a smooth jam texture.
- Combine: Place the chopped fruit, sugar, lemon juice, and any optional flavorings or spices in a large, heavy-bottomed pot. Cook over medium-low heat, stirring occasionally, until the fruits break down and release their juices and the sugar dissolves completely.
- Boil: Increase the heat to medium-high and bring the mixture to a rolling boil. Simmer for two minutes on high heat, then reduce the heat to low.
- Simmer: Continue to cook on low, stirring frequently to prevent sticking and burning, until the jam thickens and reaches the desired consistency. This usually takes between 20 to 45 minutes depending on the fruit and batch size.
- Test for Set: Perform the wrinkle test by placing a small amount of hot jam on a chilled plate. Let it sit for a minute, then push it with your finger. If it wrinkles and sets, it’s ready; if not, continue cooking and test again.
- Prepare Jars: Remove the hot, sterilized jars from the water bath canner or stockpot and place them on a clean towel. Use a canning funnel if available, and ladle the hot jam into the jars, leaving about 1/4-inch headspace. Wipe the jar rims with a clean, damp cloth to ensure a proper seal.
- Seal Jars: Place sterilized lids on the filled jars, followed by screw bands. Tighten bands to fingertip-tightness without over-tightening.
- Process in a Water Bath: Submerge the filled and sealed jars in boiling water in your water bath canner for 10-15 minutes (adjust time for altitude). This step creates a vacuum seal and helps preserve the jam.
- Cool and Store: Carefully remove jars with jar lifters and place on a clean towel or cooling rack. Allow to cool undisturbed for 12-24 hours until lids pop, indicating proper seal.
- Check Seals: Press the center of each cooled lid; it should not flex or pop. Any unsealed jars should be refrigerated and used within a few weeks.
- Label and Store: Label jars with date and type of jam. Store sealed jars in a cool, dark, and dry place for up to a year. After opening, keep jam refrigerated and consume within several weeks.
Notes
- Adjust sugar quantity based on the natural sweetness of the fruit used.
- Use a heavy-bottomed pot to prevent scorching during cooking.
- The wrinkle test is the best way to check jam consistency without a thermometer.
- Always ensure jars and lids are properly sterilized to prevent spoilage.
- Altitude adjustments may be required for water bath canning times.
- Store jam in a cool, dark place to maintain quality during long-term storage.
- Prep Time: 20 minutes
- Cook Time: 40 minutes
- Category: Preserves
- Method: Stovetop
- Cuisine: American
Keywords: Homemade jam, fruit preserves, stovetop jam recipe, water bath canning, berry jam, peach jam

