
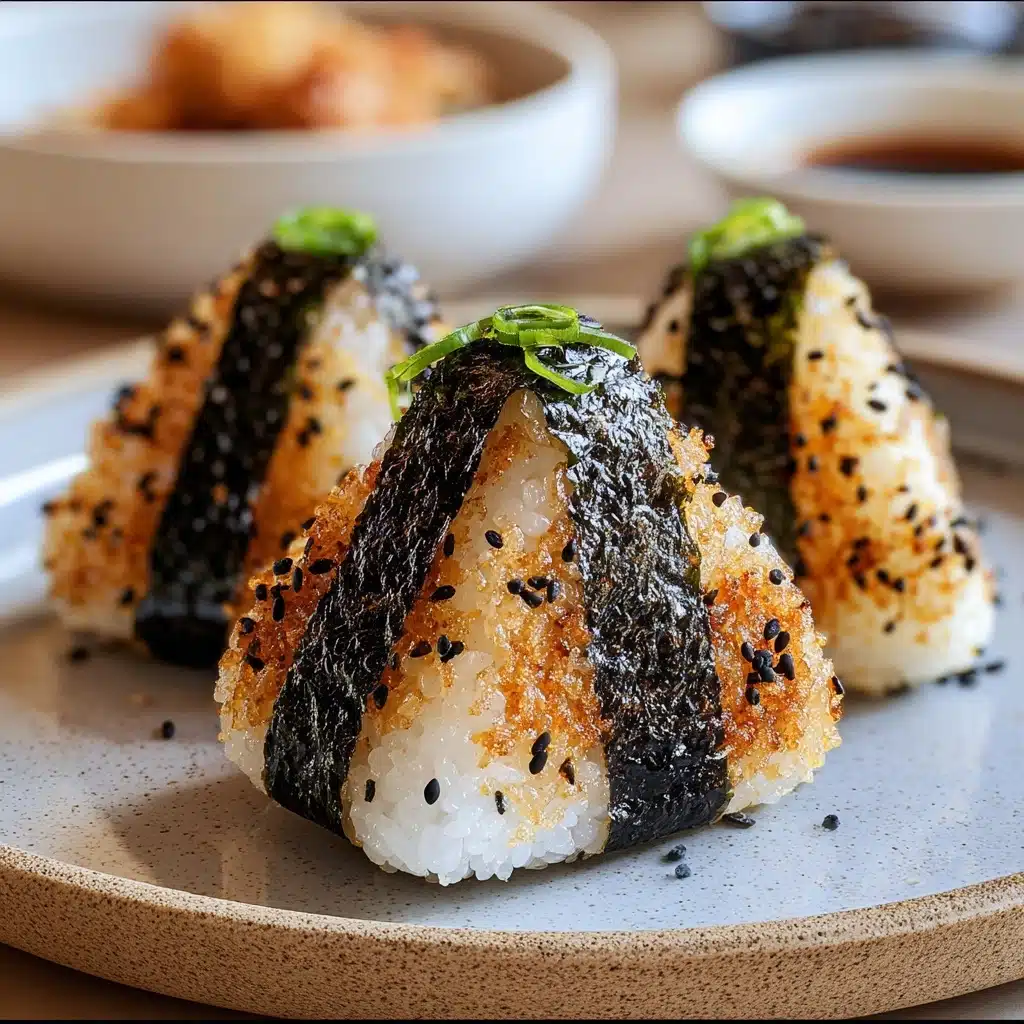
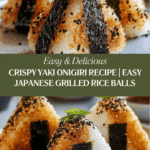
Crispy Yaki Onigiri Recipe
The Crispy Yaki Onigiri Recipe is a true celebration of texture, flavor, and heartwarming nostalgia wrapped up in the form of perfectly grilled rice balls. With a golden, crunchy exterior giving way to a tender, savory center, this dish is pure comfort in every bite. Whether you’re looking to transform leftover rice into a delightful snack or present a humble yet irresistible side to your dinner, yaki onigiri shines as a versatile and satisfying choice. This recipe captures that beautiful contrast and invites you into a world where simple ingredients come together to tell a story of tradition, love, and the joy of sharing food with those you care about.
Ingredients You’ll Need
Getting started with this Crispy Yaki Onigiri Recipe is wonderfully straightforward. Each ingredient plays a special role, contributing to that balance of crispness, umami, and aromatic depth that makes this dish so memorable. From the stickiness of well-cooked rice to the aroma of toasted nori, these basics combine to create something truly comforting and irresistible.
- Cooked Japanese short-grain rice: Its natural stickiness is crucial for shaping and holding the onigiri together, with a tender yet firm texture.
- Salt: Just the right pinch to enhance the rice’s natural sweetness without overpowering it.
- Soy sauce: Adds a lovely balance of saltiness and umami that forms the flavorful crust during grilling.
- Nori seaweed sheets: Offers a crisp, smoky layer that wraps the onigiri, lending aroma and texture contrast.
- Vegetable oil: Used for frying, creating the crispy, golden crust that defines these grilled rice balls.
How to Make Crispy Yaki Onigiri Recipe
Step 1: Prepare and Season the Rice
Start with room-temperature cooked Japanese short-grain rice—this is key for shaping ease and texture. Gently fold in the salt and soy sauce, mixing carefully to avoid mashing the grains. The lightly seasoned rice is the soul of your yaki onigiri, where the hint of salt and the depth of soy elevate every bite.
Step 2: Shape the Rice Balls
Wet your hands to prevent sticking, then scoop a handful of rice and mold it firmly into your preferred shape, traditionally a triangle. Press just enough to hold the form, but don’t compact the rice too much—the balance of a firm yet airy structure gives the best bite.
Step 3: Toast the Nori
While your rice balls rest briefly, crisp up the nori sheets. Hold them over an open flame or dry pan until fragrant but not burnt. This step awakens the seaweed’s rich aroma and adds a lovely toasted crunch that complements the fried rice ball beautifully.
Step 4: Fry the Onigiri Until Crispy
Heat vegetable oil in a skillet over medium heat. When hot, carefully add the shaped rice balls and fry them evenly, turning gently every few minutes. Your goal is a golden-brown, crispy crust enveloping the soft rice interior—around 3 to 4 minutes per side. The sizzling sound is your cue that deliciousness is underway.
Step 5: Drain and Wrap
Once perfectly crisped, transfer the onigiri to a paper towel-lined plate to drain excess oil. Wrap each rice ball in a toasted nori strip, which not only holds the shape but adds an extra layer of delightful texture and flavor.
How to Serve Crispy Yaki Onigiri Recipe

Garnishes
Enhance your crispy yaki onigiri with simple garnishes like a sprinkle of toasted sesame seeds or finely chopped scallions for freshness. A small dab of wasabi or a drizzle of extra soy sauce can add an exciting kick, making each bite even more memorable.
Side Dishes
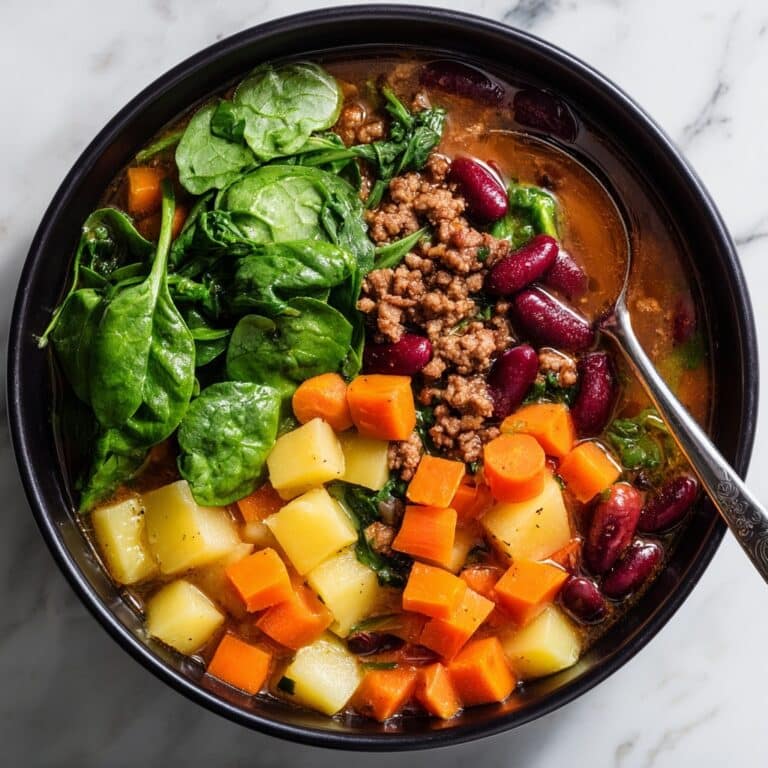
Complement these rice balls with light and fresh sides such as pickled cucumbers or a bowl of warm miso soup. These pairings beautifully balance the savory crispiness, rounding out the meal with contrasting textures and flavors that keep the palate intrigued.
Creative Ways to Present
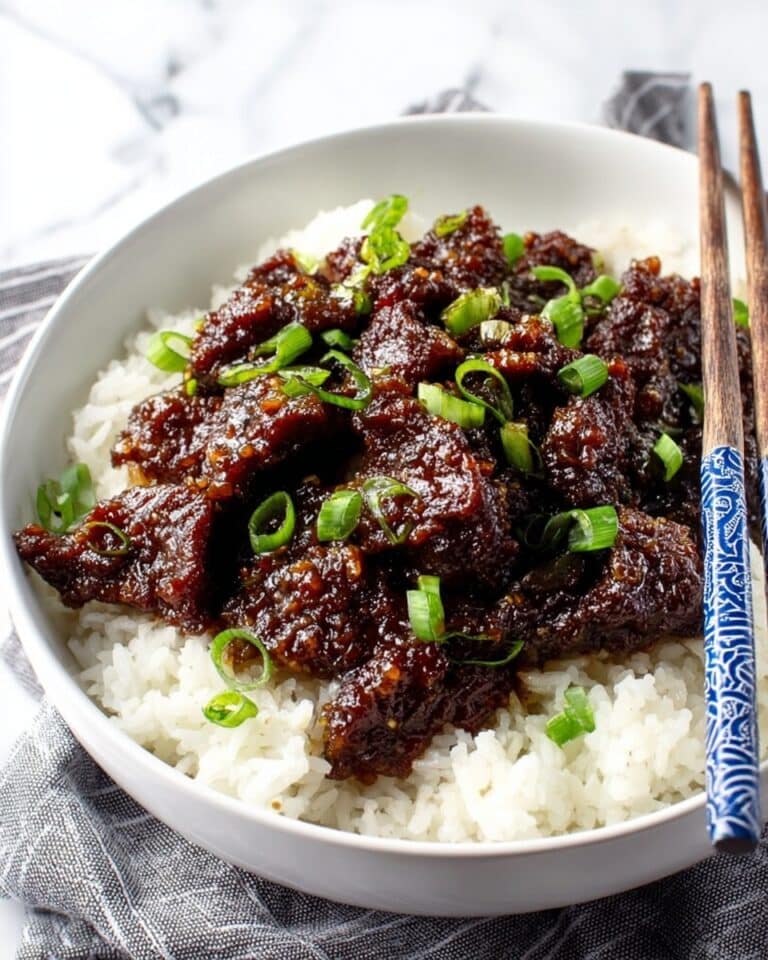
Feel adventurous by stuffing the onigiri with fillings like sautéed mushrooms, leftover curry, or grilled vegetables before shaping. You can also arrange them on a platter with a variety of dipping sauces or sliced fresh herbs for an inviting, shareable appetizer perfect for gatherings and picnics.
Make Ahead and Storage
Storing Leftovers
Store cooled leftover yaki onigiri in an airtight container in the refrigerator for up to 2 days. Keeping them sealed prevents drying out and helps maintain tenderness within the rice.
Freezing
To enjoy later, freeze un-fried onigiri individually wrapped in plastic wrap, then placed in a freezer-safe bag. They’ll keep well for up to 1 month; just thaw them in the fridge before frying for that perfect crispy finish.
Reheating
Reheat fried onigiri in a skillet over medium-low heat to revive the crispy exterior without making them soggy. Avoid microwaving when possible, as it tends to soften the crust and diminish the signature crunch of your crispy yaki onigiri.
FAQs
Can I use leftover rice for this recipe?
Absolutely! In fact, traditionally yaki onigiri was a fantastic way to use leftover rice. Just make sure the rice isn’t too dry or clumpy; gently warm and fluff it before shaping for the best results.
What kind of soy sauce works best?
Light to medium soy sauce is ideal because it imparts a balanced umami flavor without overpowering the rice. Experimenting with regional varieties can add subtle flavor differences, so feel free to try what you enjoy most.
Can I bake the onigiri instead of frying?
Yes, baking is a great option if you prefer a less oily version. Brush the shaped rice balls with soy sauce and bake them on a parchment-lined sheet at 400°F (200°C) until golden and crispy, flipping halfway through.
How do I prevent the rice from sticking to my hands when shaping?
Wet your hands lightly with water, or rub a pinch of salt on your palms to keep the rice from sticking. This technique also seasons the rice slightly and makes shaping easier and less messy.
Is nori mandatory for the Crispy Yaki Onigiri Recipe?
While nori adds a wonderful texture and flavor contrast, you can enjoy yaki onigiri without it. Wrapping the rice balls in nori just gives that authentic touch and adds an aromatic layer that many adore.
Final Thoughts
I truly hope you take the joy of making this Crispy Yaki Onigiri Recipe into your kitchen and share it with loved ones. There’s something deeply satisfying about transforming simple ingredients into a dish that exudes warmth, crunch, and comfort all at once. So go ahead, get your hands a little sticky, savor those golden crisps, and let these delightful grilled rice balls bring a slice of tradition and happiness to your table.
Print
Crispy Yaki Onigiri Recipe
- Total Time: 20 minutes
- Yield: 4 servings 1x
- Diet: Vegetarian
Description
Crispy Yaki Onigiri are traditional Japanese grilled rice balls with a golden, crunchy exterior and a soft, comforting interior. Made from sticky short-grain rice seasoned with salt and soy sauce, then pan-fried to perfection and wrapped in toasted nori, these delightful treats evoke nostalgia and warmth, perfect for sharing or enjoying as a comforting snack.
Ingredients
Rice and Seasoning
- 2 cups cooked Japanese short-grain rice (preferably Koshihikari)
- 1 teaspoon salt (or to taste)
- 1 tablespoon soy sauce
Toasted Seaweed
- 2 sheets of nori seaweed, cut into rectangles
For Frying
- 2–3 tablespoons vegetable oil (neutral oil or sesame oil for nuttier flavor)
Instructions
- Prepare the Rice: Make sure your cooked Japanese short-grain rice is at room temperature. Spread freshly cooked rice on a plate to cool if necessary. Once cooled, gently mix in the salt and soy sauce, being careful not to crush the rice grains, to ensure even seasoning throughout.
- Shape the Onigiri: Slightly wet your hands to prevent sticking. Take a handful of the seasoned rice and shape it into a compact triangle or round ball, pressing firmly enough to hold its shape but not so hard that the rice becomes overly dense.
- Toast the Nori: Lightly toast the nori sheets over an open flame or in a dry skillet for a few seconds on each side until aromatic and crisp, but not burnt. This enhances its flavor and makes it easier to wrap around the onigiri.
- Heat the Oil: Warm 2-3 tablespoons of vegetable oil in a skillet over medium heat. Test if the oil is hot enough by dripping a few drops of water into the pan; if they sizzle, the oil is ready.
- Fry the Onigiri: Place the shaped rice balls into the hot oil. Fry for about 3-4 minutes on each side until the exterior turns golden brown and crispy. Don’t worry if the surface looks a little uneven—this adds to their charm.
- Drain and Wrap: Remove the onigiri from the pan and let them drain on paper towels to remove excess oil. Wrap each crispy rice ball with a piece of toasted nori to add texture and flavor.
- Serve: Serve warm, optionally with pickled cucumbers or a small dollop of wasabi for an extra kick. Enjoy immediately for the best texture and flavor.
Notes
- Use short-grain Japanese rice for best stickiness and shape retention.
- Adjust salt and soy sauce to your taste preferences.
- Freshly toasted nori adds the best aroma and texture.
- You can substitute vegetable oil with sesame oil for a nuttier flavor.
- Try adding fillings like sautéed mushrooms or leftover curry for variety.
- Onigiri tastes best fresh but can be reheated gently to restore crispiness.
- Pair with pickles or miso soup for a more balanced meal.
- Prep Time: 10 minutes
- Cook Time: 10 minutes
- Category: Snack, Appetizer
- Method: Pan-frying
- Cuisine: Japanese
Nutrition
- Serving Size: 1 onigiri (approx. 100g)
- Calories: 180 kcal
- Sugar: 1 g
- Sodium: 400 mg
- Fat: 5 g
- Saturated Fat: 0.7 g
- Unsaturated Fat: 3.5 g
- Trans Fat: 0 g
- Carbohydrates: 30 g
- Fiber: 1 g
- Protein: 3 g
- Cholesterol: 0 mg
Keywords: yaki onigiri, grilled rice balls, Japanese snack, crispy onigiri, rice balls recipe, easy Japanese appetizer


